 |
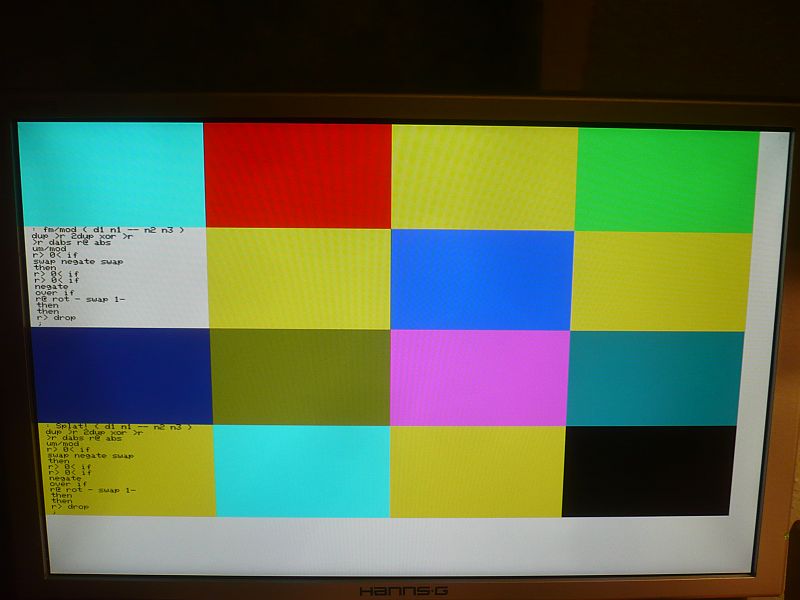
| An early VGA experiment using the FPGA "ZPUino" soft core |
The early history of British computing is firmly rooted in the secret Radar work during World War 2. After the war, many of those early Radar engineers and technicians sought interesting employment in the post-war civilian Britain and helped to start the first British Computer Revolution.
During the war, advanced storage techniques had been used to reduce clutter in radar images - it was these cathode ray tube image persistent storage methods, that gave rise to the Williams tube (1946-47) - one of the first dynamic RAM devices. On the phosphorous face of a 6" CRT, you could display an array of 32 x 32 dots, of varying brightness - and it was direct the application of this device that in 1948, that led to the practical development of the first true Small Scale, Experimental Computer (SSEC). The Williams tube became the 1K bit store of the SSEC - or Manchester "Baby" computer. This, in my opinion, is the true birth of computer generated graphics - a central function of the world's first stored program computer.
So the representation of data graphically on a screen has gone hand in hand with the development of the computer - ever since the earliest beginnings.
In the early 1980's the price of dynamic memory had decreased to the point where for the first time, small colour graphic systems became practical. This led to the boom of home computers in the UK and elsewhere as the 8-bit micros of the time (6502, Z80, 6800) were combined with fairly primitive video hardware to produce low resolution colour video displays.
With the falling cost of memory and hardware, the cost of the components required to produce a colour graphic display is now only a few dollars - and indeed the latest Raspberry Pi Zero ($5) and the CHIP $9 Linux computer have the graphic processors built in - requiring only a cable or adapter board to produce a video output suitable for driving a VGA or HDMI monitor.
By offloading the burden of controlling the timing, sync generation and pixel pushing from the micocontroller to a specialist IC - or graphics processor, even a low resource 8-bit microcontroller can have a great user interface. The following video illustrates how this can be achieved most convincingly using a 20MHz AVR combined with a graphics engine:
https://www.youtube.com/watch?v=acY2M-F4FTg
There are now several options for low cost VGA hardware suitable for connecting to an Arduino or similar dev-board, and this post will look at some of them. Later posts will describe some in more detail.
The 32-Bit Mass Migration
The hobbyist market is moving towards more sophisticated microcontrollers, and I guess that within a couple of years we shall all programming 32 bit ARM devices.
These will be literally "as cheap as chips", and it will be the 25 year old, 8-bit processors (PICS AVRs, 8051) , manufactured in rapidly becoming obsolete process geometries that become disproportionately expensive - as we rush to geometries around the 10nm mark.
Atmel have tried to counter this 8-bit stagnation, by releasing some new AVR parts, that are made in a 130nm CMOS process but the writing appears to be on the wall for the humble 8-bit parts. STMicroelectronics are making some of their older processes available to Universities for custom chip design - for about $2400/mm2.
Atmel have recently launched a range of 300MHz Cortex M7 processors using a 65nm process. These will eventually migrate to a 40nm process, and have clock frequencies of around 400MHz. ST Microelectronics have also indicated that they are pushing their M7 processors to 400MHz.
Whilst single board computers, such as BeagleBone and Raspberry Pi are now offering multi-core 1GHz processors, these devices are generally intended to work with the Linux O/S., and have achieved large sales success - it's is the basic 32-bit microcontroller, programmed in bare metal C (without operating system framework) that is rapidly playing catch-up.
Within a year or so, 400MHz, 32bit ARM processors will be available on boards - designed for ease of use to the hobbyist and hacker community. With a vast array of on-chip peripherals, these devices will find their way into flight controllers, software defined radios, games consoles, robotics and anywhere the microcontroller has to perform cycle-accurate real-time control.
Video for All
The one key factor that fuelled the microcomputer revolution 35 years ago has to be colour graphics on high street affordable PCs. Few perhaps remember when the only interaction with a computer was via a monochrome serial terminal. The use of colour, brings all levels of computing alive - even for the most basic of microcontroller projects, where a touch screen LCD is now a realistic practicality.
Traditionally, embedded microcontrollers have had fairly minimal user interfaces - perhaps a character LCD and a few switch button inputs. In reality, a lot of embedded projects have user interfaces that have not progressed much beyond the 1970's calculator era.
This is perhaps not for the want of processing power, as microcontrollers now have clock frequencies in the hundreds of MHz, and sufficient RAM to support a modest graphics buffer. The fact is, that until recently, displays have been an expensive luxury, and product designers have at best, been conservative in their designs - in order to keep overall costs down.
There is now, however, no real need for this frugality, as the price of colour TFT displays has plummeted in recent years as a result of the SmartPhone and Tablet revolution. The displays used in last year's smartphone are now available very cheaply - virtually dumped on the market, when the SmartPhone Circus moves on to it's next destination.
This is good news for the hobbyist, as there are now a whole bunch of very cheap LCDs and OLEDs available - starting at a couple of dollars. The open source community has stepped up and produced drivers for these displays - making the whole business of adding a colour LCD or OLED to your project a whole lot simpler and cheaper.
RGB Video Hardware
From a hardware point of view, generating colour video is really not very difficult - especially when some of the newer ARM Cortex M processors have on-chip LCD controllers that do all the hard work of getting the pixels out of RAM, and sending them to the screen with the right timing and in the right order.
By offloading the graphics generation to a secondary IC, it can free up a lot of resources from the main processor - allowing stunning graphical performance from what perhaps is a fairly modest processor.
For the hobbyist wanting to experiment with DIY graphics hardware - there are currently 3 or 4 options of interest. I am currently evaluating 1-3 below - and have hardware on order to allow me to investigate 4 below.
1. STM32 Cortex M4 and Cortex M7 - some parts have on chip LCD controller.
2. FPGA - use a soft core processor like the ZPUino - which is connected to an 800x600 VGA engine
3. FTDI81x - an embedded video engine IC - known affectionately as EVE for about £5
4. Raspberry Pi class SBCs normally have VGA, composite or HDMI graphics on board
Getting a VGA Output
I have now reached the age where I rely on reading glasses to read small text - and so to read a text from a SmartPhone LCD is a case of reaching for my reading glasses every time. Large, flat screen monitors - perhaps of 24" or 27" diagonal are now available cheaply - and so this would be my preferred choice of viewing any graphical output. On a 27" diagonal screen - a single 800 x 600 pixel is about 0.75mm square.
Most flat screen monitors will accept an analogue VGA input, with a range of resolutions handled by the multi-sync display.
The VGA signals consist of a Red, Green and Blue analogue voltage, accompanied by horizontal and vertical synchronisation signals on 2 separate pins. These signals are relatively easy to create from either a FPGA or an LCD controller - just with some simple resistor networks to reconstruct the analogue voltage from the parallel RBG digital outputs.
By offloading the graphics generation to specialist hardware means that even a low resource microcontroller can have great looking graphics. Indeed there has been much interest in recent years in recreating some of the classic home-computers from the 1980s using FPGA technology. The original Gameduino (2011) - an add on video shield for the Arduino to allow 8 bit arcade games to be played, ran a VGA video engine inside a FPGA.
GameDuino 2 - uses an embedded video engine - or EVE device from FTDI to create the graphics - and displays them on a 4.3" LCD.
The EVE device has been enhanced (EVE2) - and will now support up to 800 x 600 displays. It is likely that a number of products based on EVE 2 will appear in the near future.
Since the Spring I have been using the ZPUino soft core processor running on an FPGA to generate VGA graphics. My platform of choice is the Gadget Factory, Papillio Duo - an FPGA board based on the Xilinx Spartan 6 FPGA coupled to a fast 2MB SRAM. When fitted with a "Computing Shield" which provides VGA connector and PS/2 connectors for keyboard and mouse it makes a compact platform. This combination allows up to 800 x 600 VGA - and it is quick and easy to programme in "Arduino" C++ using the Adafruit GFX Graphics library.
The ability to write coloured text, individual pixels or graphics easily to anywhere on a screen from within an Arduino sketch - makes the whole experience very rewarding. The ZPUino core can readily animate the graphics with simple code.
The final method I touched on to generate video is to use the On-Chip graphics engine. Some of the STM32F4xx Cortex M4 and STM32F7xx Cortex M7 microcontrollers have this as an on-chip peripheral. It can produce stunning graphics, but will take a lot of C programming, and will consume a fair percentage of the processors throughput to produce a good display.
In the next post, I reveal a pcb that puts all of this together.
No comments:
Post a Comment